DIY Lilly Pulitzer Pumpkins: A Preppy Fall Craft
Turn a plain pumpkin into a punchy, pink-and-green Palm Beach print. A simple, kid-friendly DIY Lilly Pulitzer pumpkin tutorial for the prettiest porch on the block.
Every fall the kids and I take over the kitchen table for an afternoon and turn a few plain pumpkins into something a lot more us: bright, preppy, and unapologetically pink and green. We call them our Lilly pumpkins, and they have become my favorite October tradition.
If you grew up loving that Palm Beach print the way I did, you already know the look. Lilly Pulitzer started her brand in 1959 after a juice stand left her clothes covered in stains, so she had a dressmaker run up a shift in loud, cheerful prints that would hide the mess. Those hand-painted, custom-colored prints became a whole way of dressing. As the brand’s own history tells it, the dresses were soon worn by the Rockefellers, the Vanderbilts, and a young Jacqueline Kennedy, who wore one on the cover of Life magazine in 1962 and sent the look national.
You cannot bottle that exactly. But you can absolutely paint a pumpkin that captures the spirit.
What you’ll need
- A pumpkin (a smooth craft pumpkin lasts for years; a real one is fine for a season)
- Acrylic craft paints in hot pink, grass green, citrus orange, turquoise, and white
- A few small round brushes and one fine liner brush
- A pencil for sketching
- A spray sealer or clear acrylic topcoat
- Patience, and a drop cloth, because this gets joyful and messy
How to paint your Lilly pumpkin
- Start with a base. Paint the whole pumpkin one bright color and let it dry fully. Hot pink or turquoise both read very Lilly. Two coats give you the saturated, glossy look.
- Sketch your motifs in pencil. Think Palm Beach: scrolling leaves, big tropical flowers, little citrus slices, paisley swirls. Loose and symmetrical beats fussy and perfect.
- Block in the shapes with your round brushes, one color at a time, letting each dry before you layer the next so the colors stay crisp and do not muddy.
- Add the details last with the liner brush: white outlines, dots, and the squiggly borders that make the print feel hand-drawn. The white outline is the secret. It is what turns “painted pumpkin” into “Lilly pumpkin.”
- Seal it. A light coat of clear spray sealer protects all that work from porch weather and little hands.
Styling them once they’re done
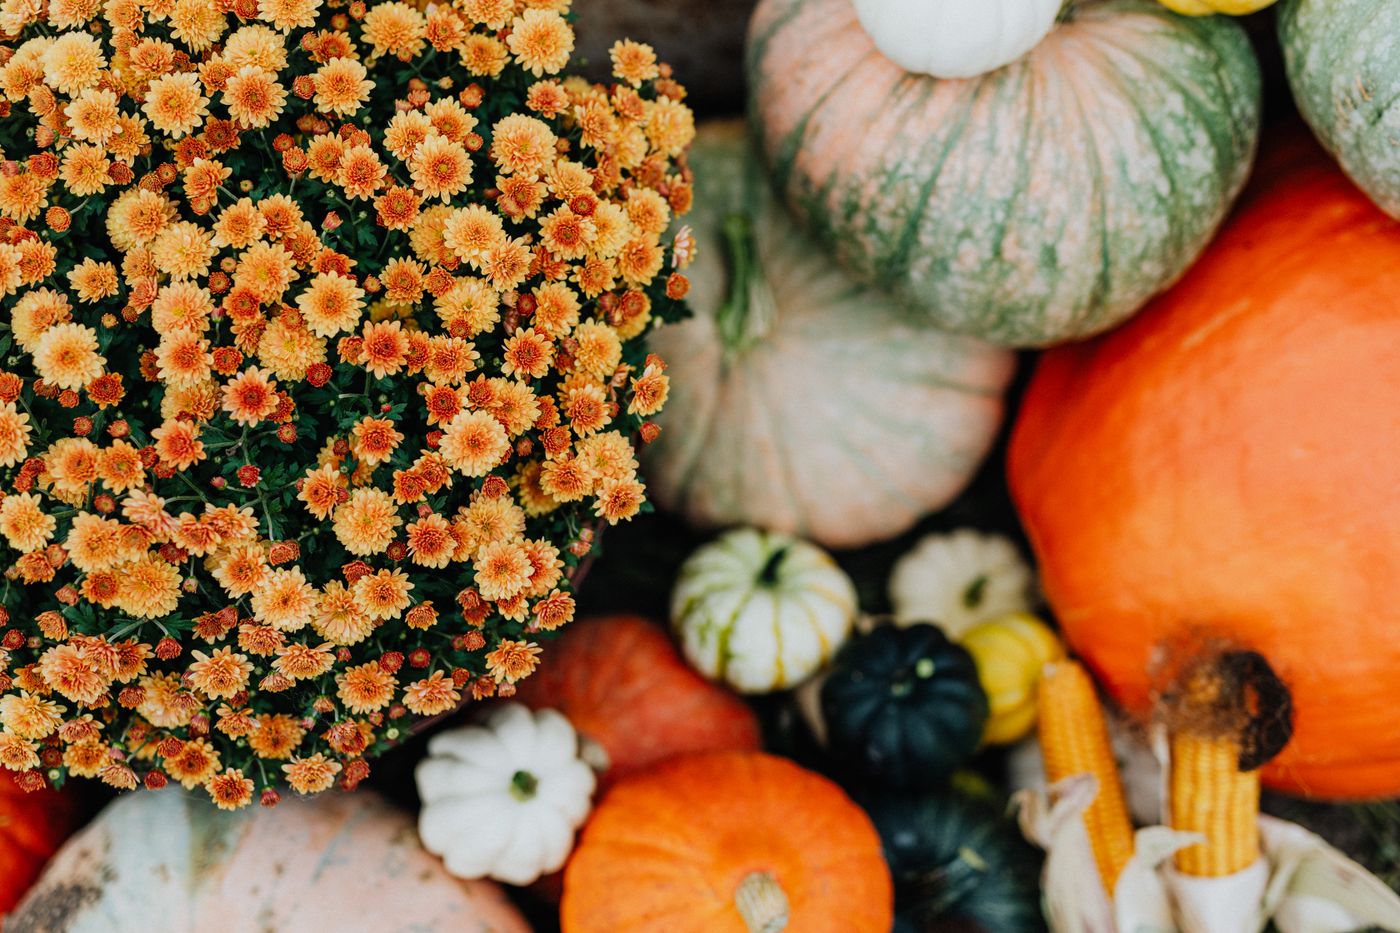
I group three in different sizes on the front steps with a couple of white mums, or line up a row of little ones down the center of the table. They pull double duty straight through Thanksgiving and play beautifully off the pink and green color story I gravitate toward all year.
If your house tilts preppy-meets-cozy in the fall the way mine does, this is the project. Pair it with everything I love about autumn in Maryland, and once the season turns, the same palette carries right into my pink and green spring table. Some color combinations just never go out of style. Lilly knew that better than anyone.